Photo Sticker | Vinyl Stickers
Couldn't load pickup availability
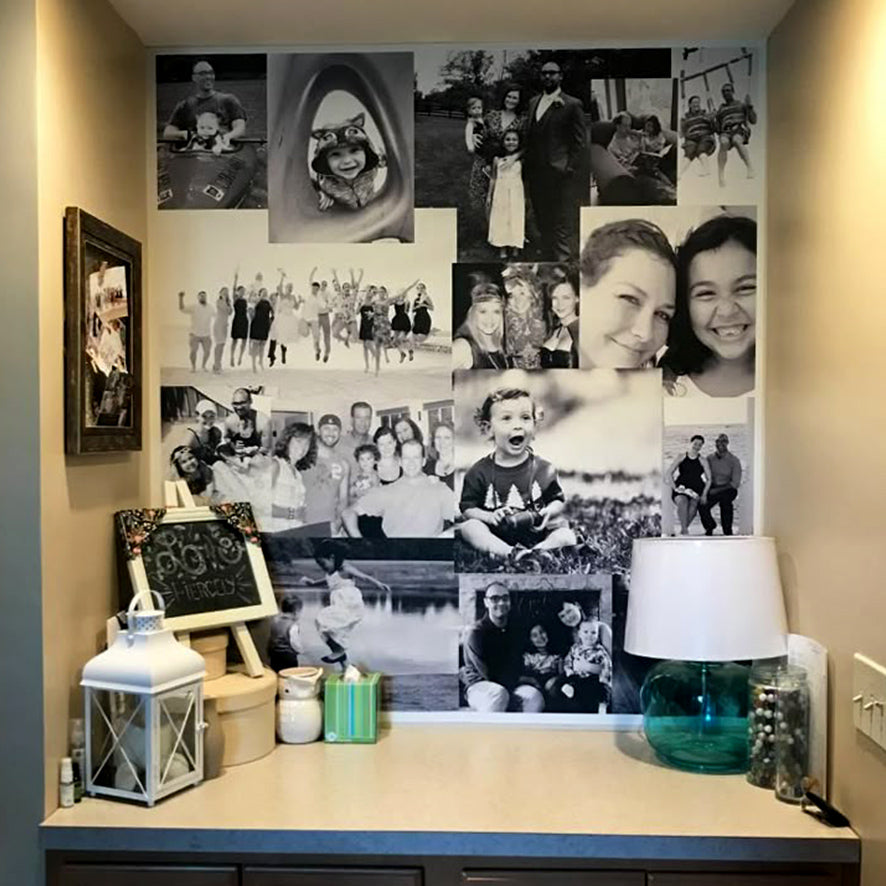
Custom Photo Mosaic Vinyl Wall Panel
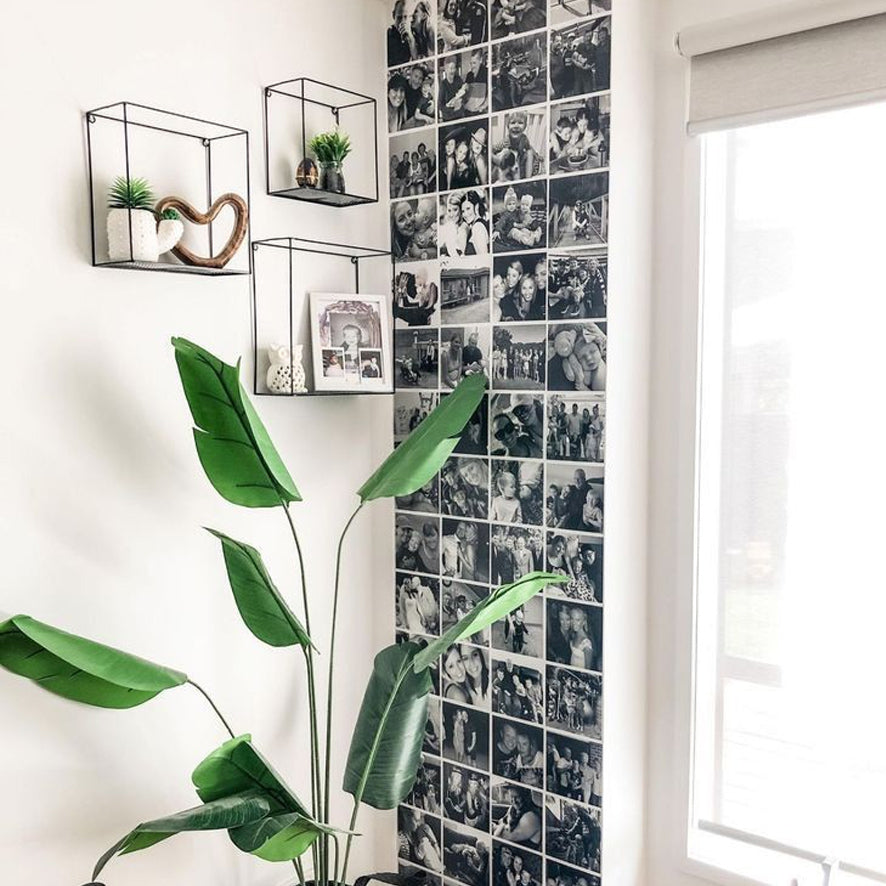
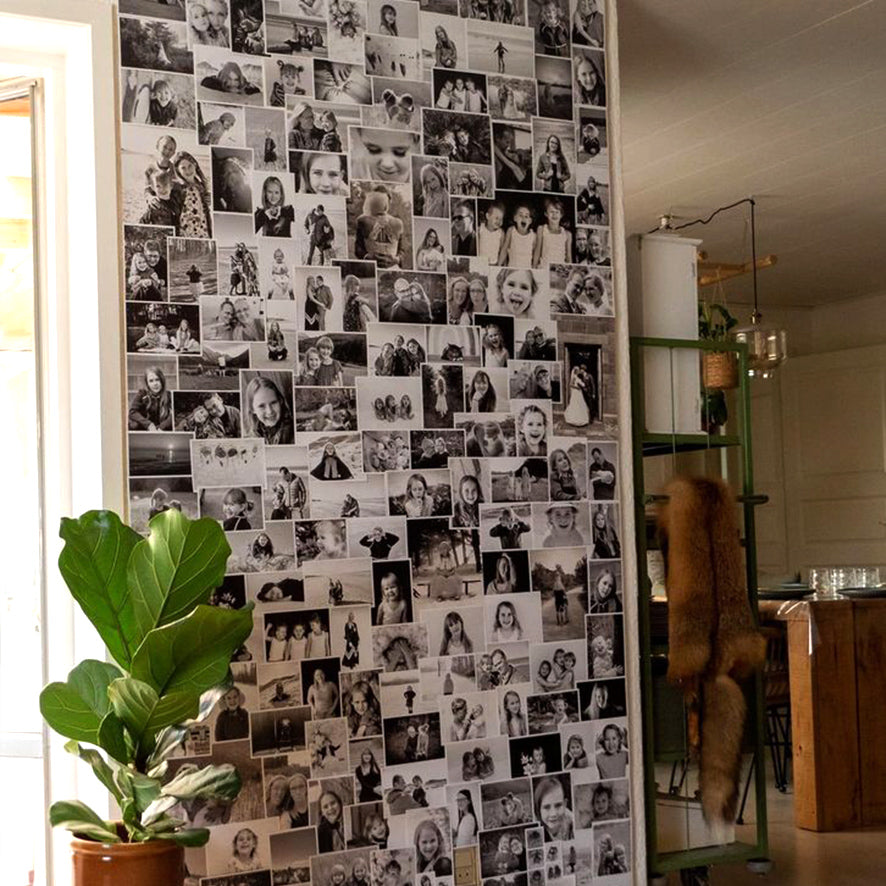
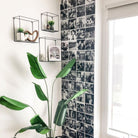
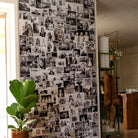
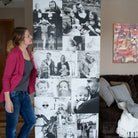
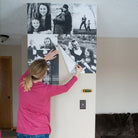
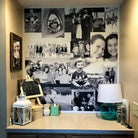
Turn your favorite memories into a stunning piece of wall art with our custom photo vinyl panels. This unique product allows you to create a personalized mosaic of your most cherished moments, perfect for any room in your home or office.
Each panel measures 1m x 1m and can be designed in two ways:
-
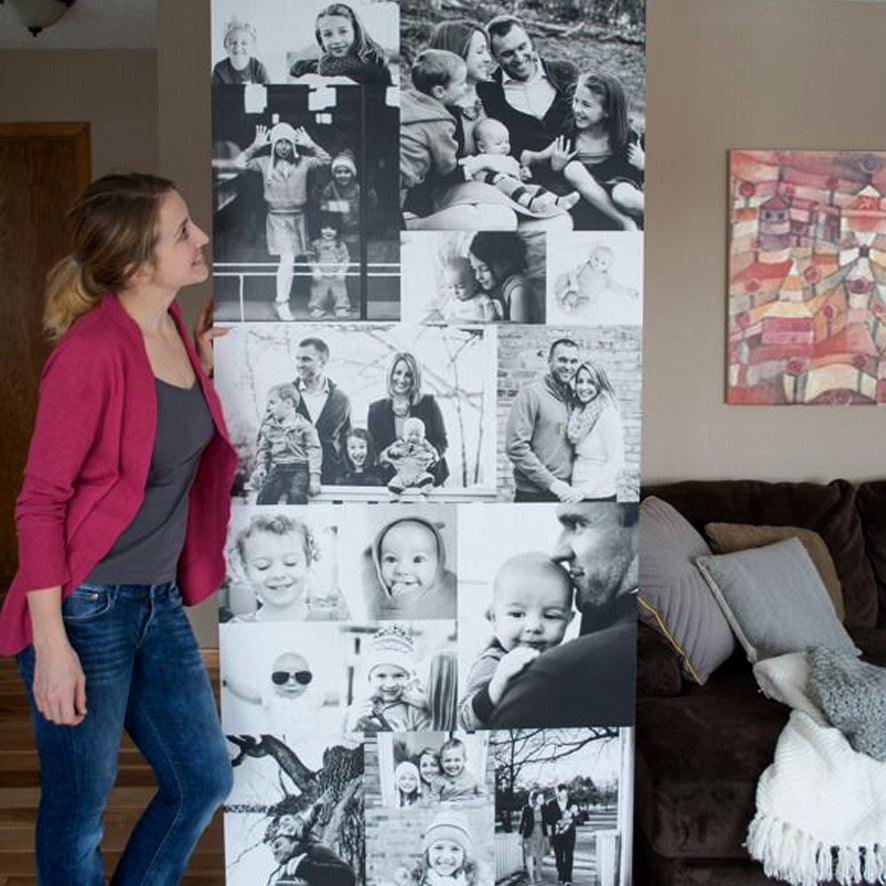
Custom Design: Use a single photo or your own unique design to cover the entire panel.
Please note: A design fee may apply for custom work, depending on the complexity and time required for the design process.
-
Photo Squares: Create a beautiful mosaic with up to 100 photos, each sized at 10cm x 10cm, filling the entire panel.
To get started, simply send your high-resolution photos via wetransfer.com. We'll then create a design for your approval and send it to you via WhatsApp chat before we go to print. Email Address: mooikamer@gmail.com
How to Install Your Vinyl Wall Sticker
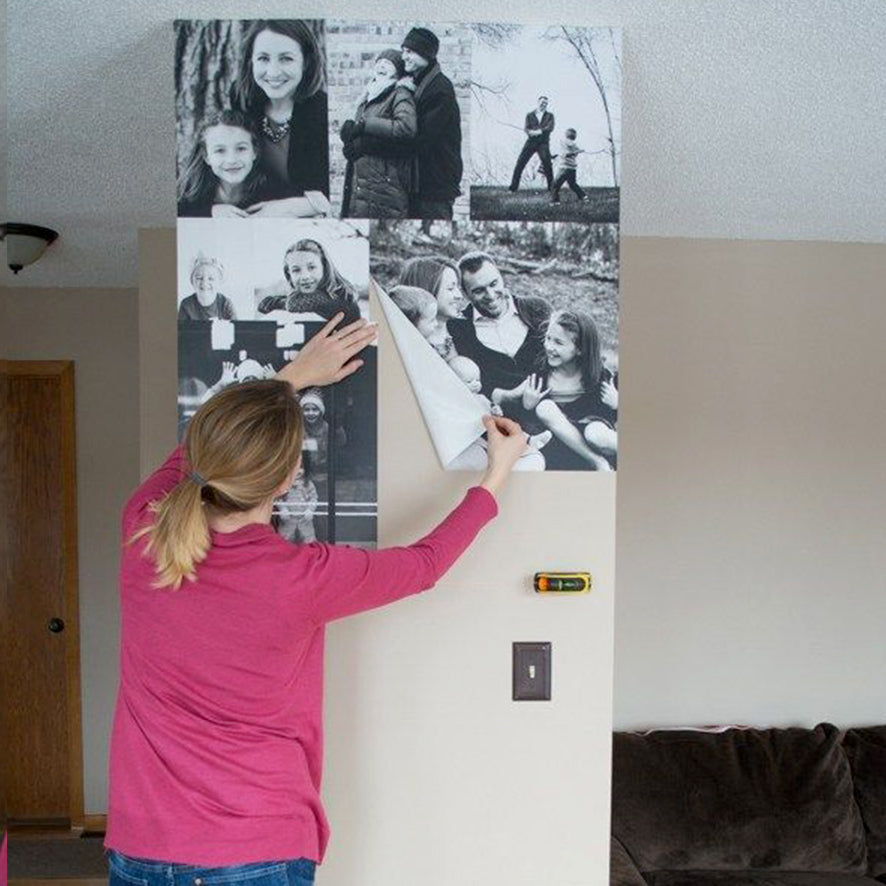
Installing your vinyl sticker is a simple process that anyone can do. For best results, we recommend having a second person assist you.
Tools you will need:
-
A clean cloth or sponge
-
Masking tape
-
A tape measure or ruler
-
A squeegee or a credit card
-
A craft knife or box cutter
Installation Steps:
-
Prepare the Wall: Ensure the wall surface is clean, dry, and smooth. Wipe down the area with a damp cloth and allow it to dry completely.
-
Position the Sticker: Use masking tape to temporarily fix the sticker to the wall in the desired position. Use a tape measure to ensure it's level and centered.
-
Secure One Side: Apply a long strip of masking tape down the center of the sticker, creating a hinge.
-
Remove Backing: Carefully peel off the backing paper from one side of the sticker, up to the central masking tape hinge. Cut off the removed backing paper.
-
Apply to Wall: Slowly and carefully, start applying the vinyl from the center, using your squeegee to smooth it onto the wall. Work from the center outwards to prevent air bubbles.
-
Repeat on Other Side: Remove the central hinge and peel off the remaining backing paper. Repeat the application process, working from the center outwards.
-
Final Touches: Firmly press the entire sticker with the squeegee. Slowly peel away the top transfer paper at a sharp angle. If any part of the vinyl lifts, simply lay it back down and press again with the squeegee.
Enjoy your new wall art!

